How to Diffuse Curly Hair: The Ultimate Guide

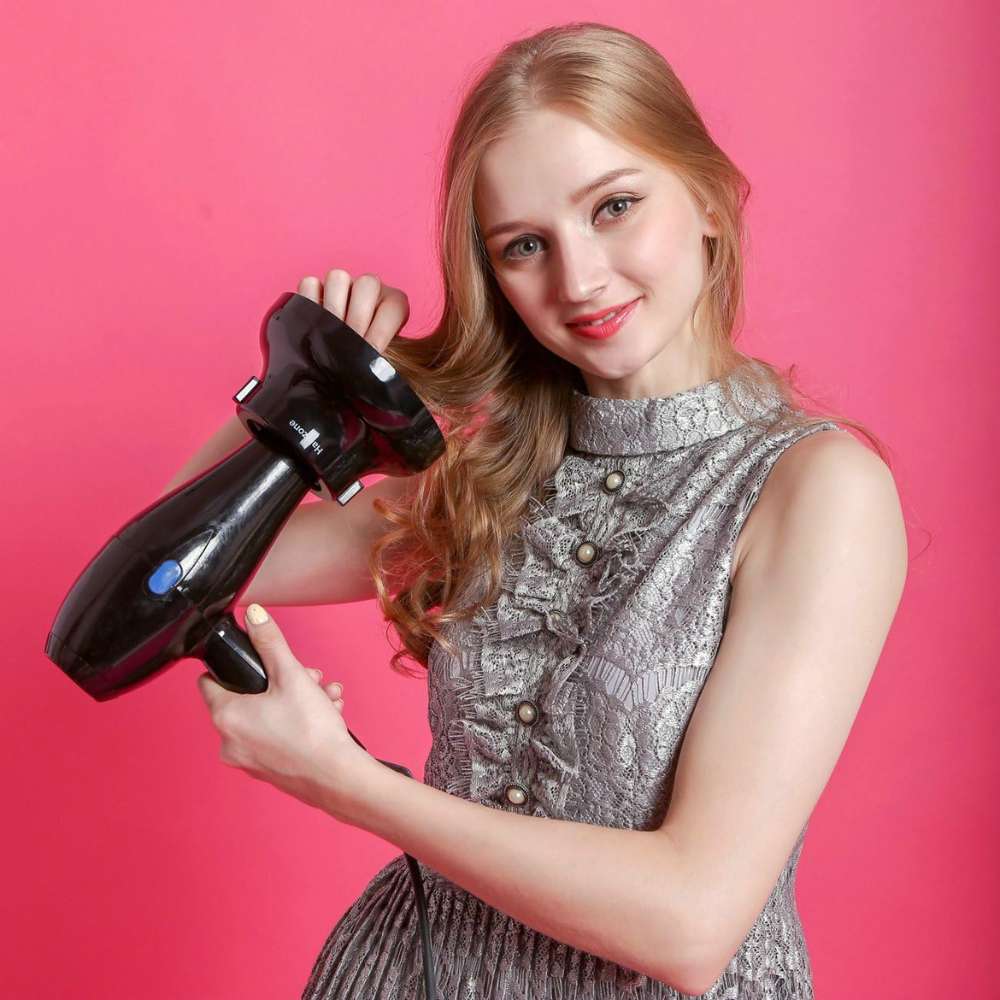
Attention curly girls! Is your curly hair giving you a hard time? If so, it’s time to take control and learn how to make the most of your beautiful curls.
Diffusing is one of the best ways to enhance those waves and get that “just right” look without having to do a ton of styling.
Read on for an in-depth guide on how to diffuse curly hair step by step!
What is Diffusing?
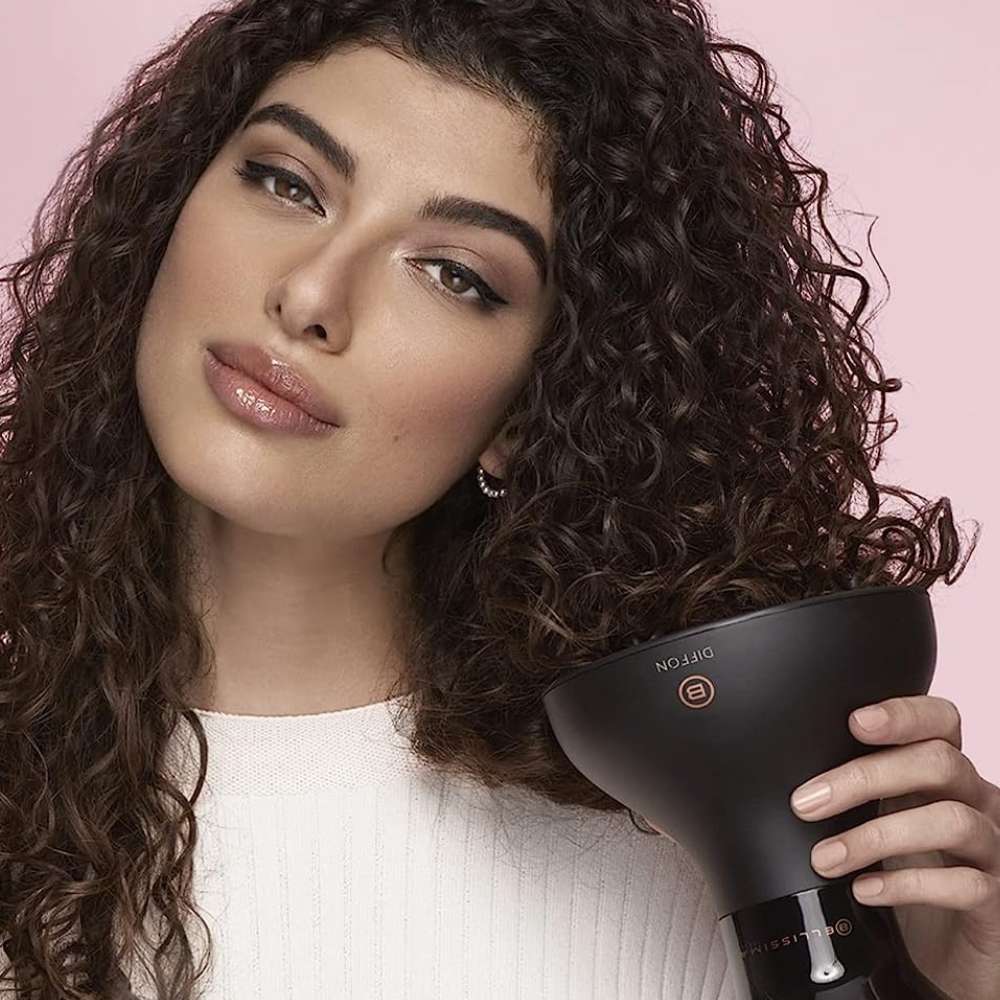
One of the best ways to achieve soft and bouncy curls without overloading your hair with product is to use a diffuser.
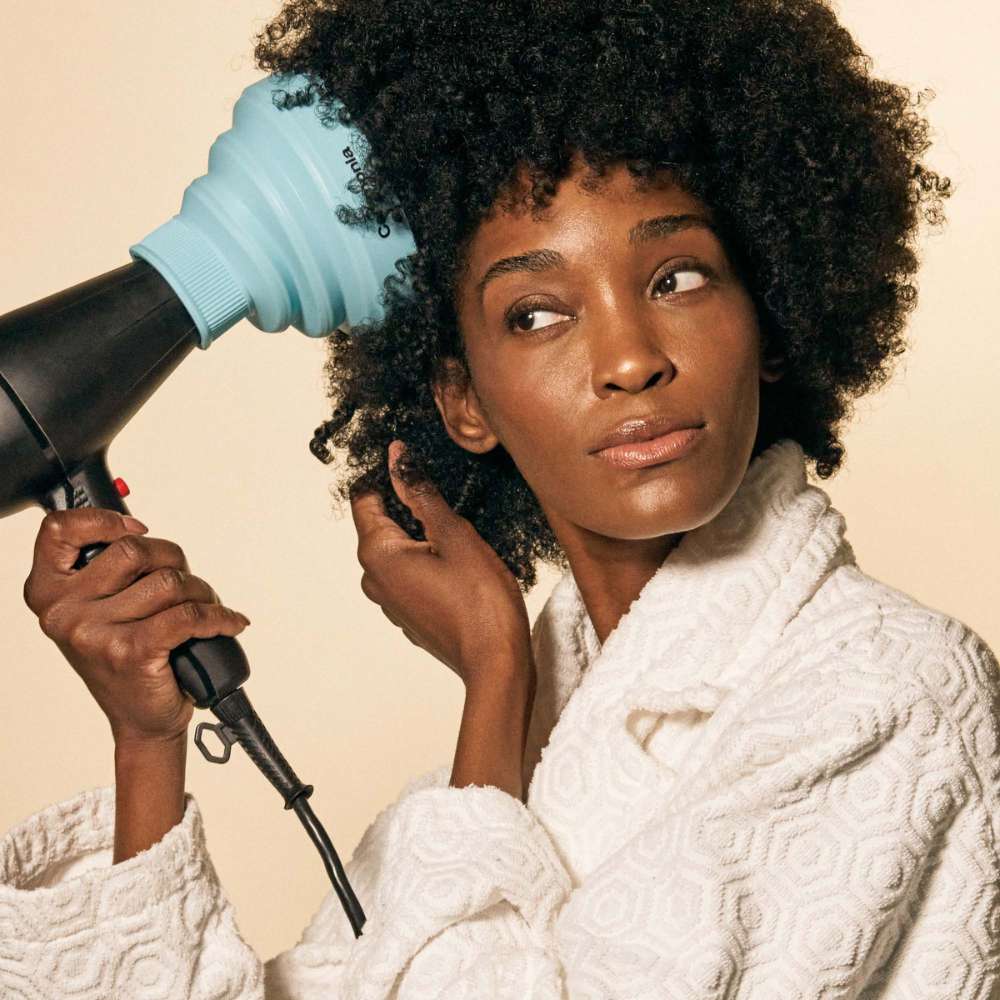
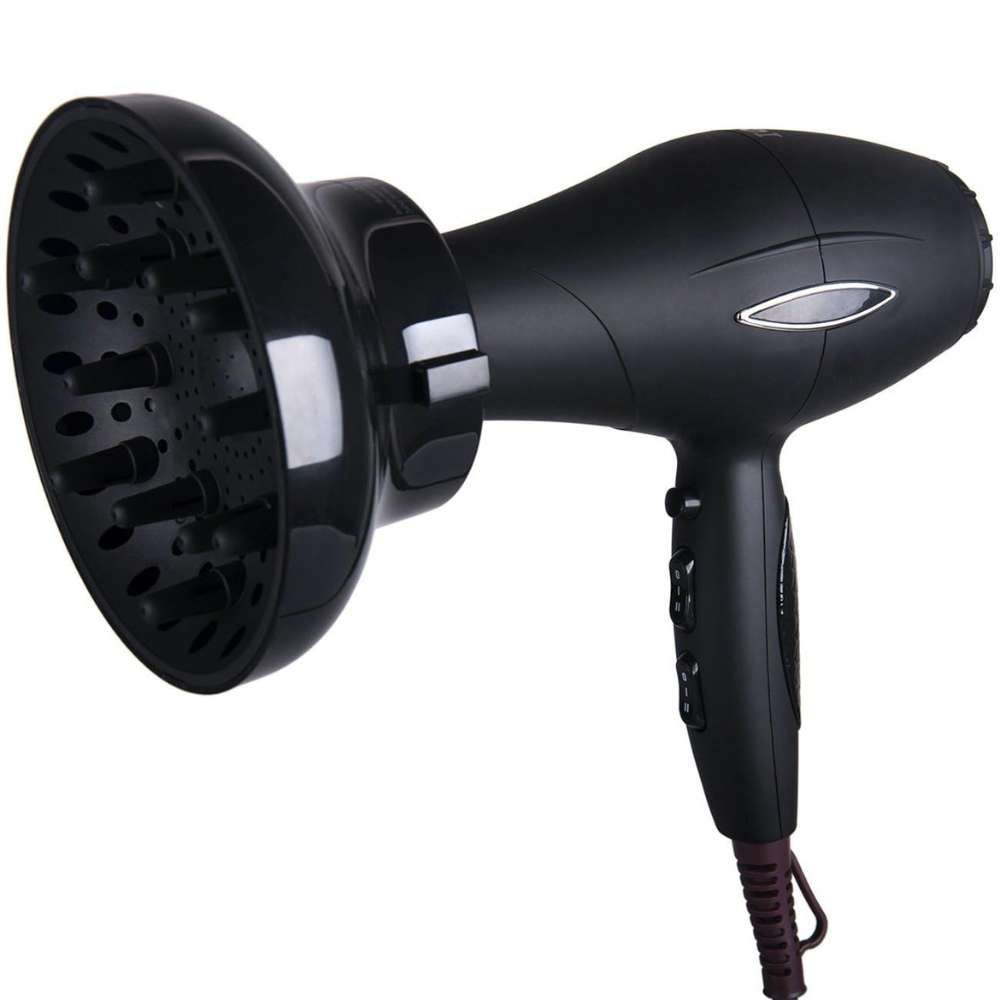
But what exactly is diffusing? It's a technique used on dry hair where warm air from a blow dryer is concentrated onto sections of hair at once to help shape your natural curl pattern. You diffuse your hair by placing a special blow dryer attachment onto your hair dryer called a diffuser.
If you’re wondering how to diffuse your curls for beautiful results, we will show you three methods that will help you get defined and voluminous curls. But first, let's get your hair ready!
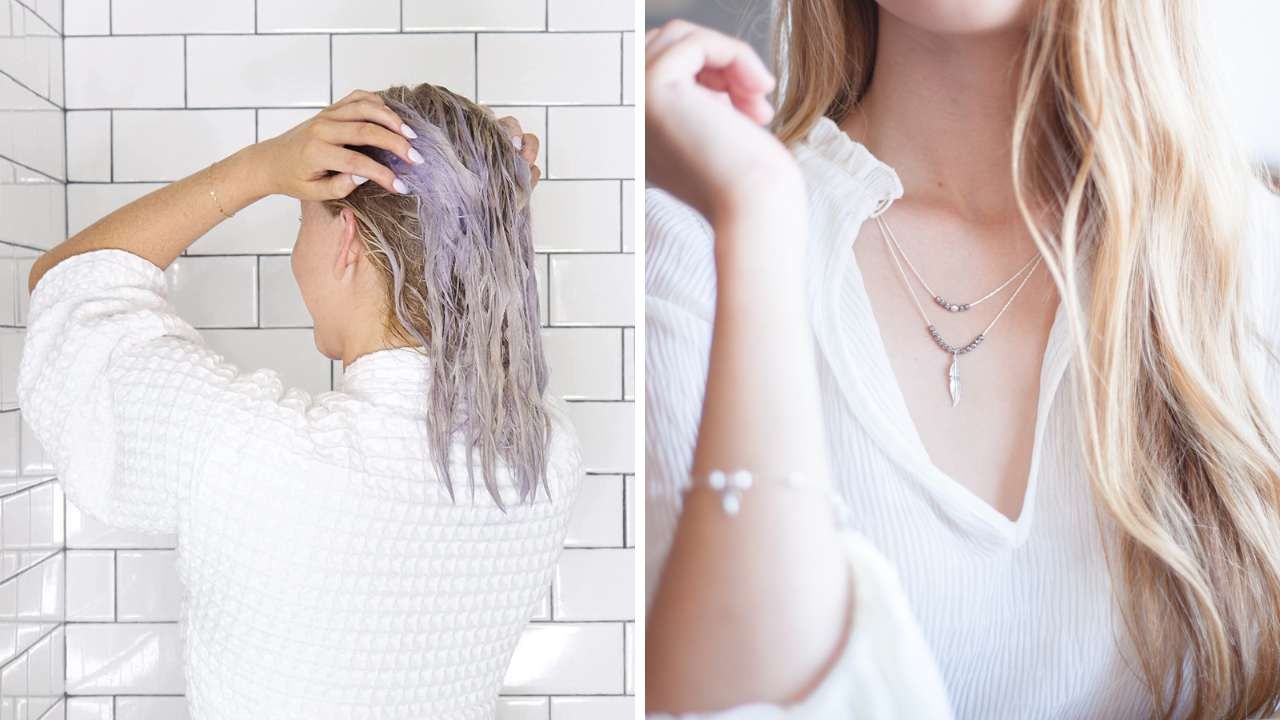
Prep Your Hair With Products
Before you start diffusing, it’s important to prepare your hair with the right products.
Start by washing it with a sulfate-free shampoo and a conditioner that’s specifically designed for curly hair. This will help keep your scalp healthy, add moisture, and reduce frizz.
After rinsing out the conditioner, apply a leave-in conditioner or curl cream from mid-shaft down to the tips. This will help lock in moisture and give your curls definition and bounce. You can also use a curl activator for curl definition.
Towel Dry
Once you’ve finished prepping your hair with products, it’s time to towel dry your wet hair. Make sure not to rub too harshly as this can cause breakage.
Instead, use gentle squeezing motions while pressing the towel against your head until most of the water has been absorbed (it’s okay if there are still some damp spots).
This should take 5-10 minutes at most—any longer than that and you risk damaging your curls!
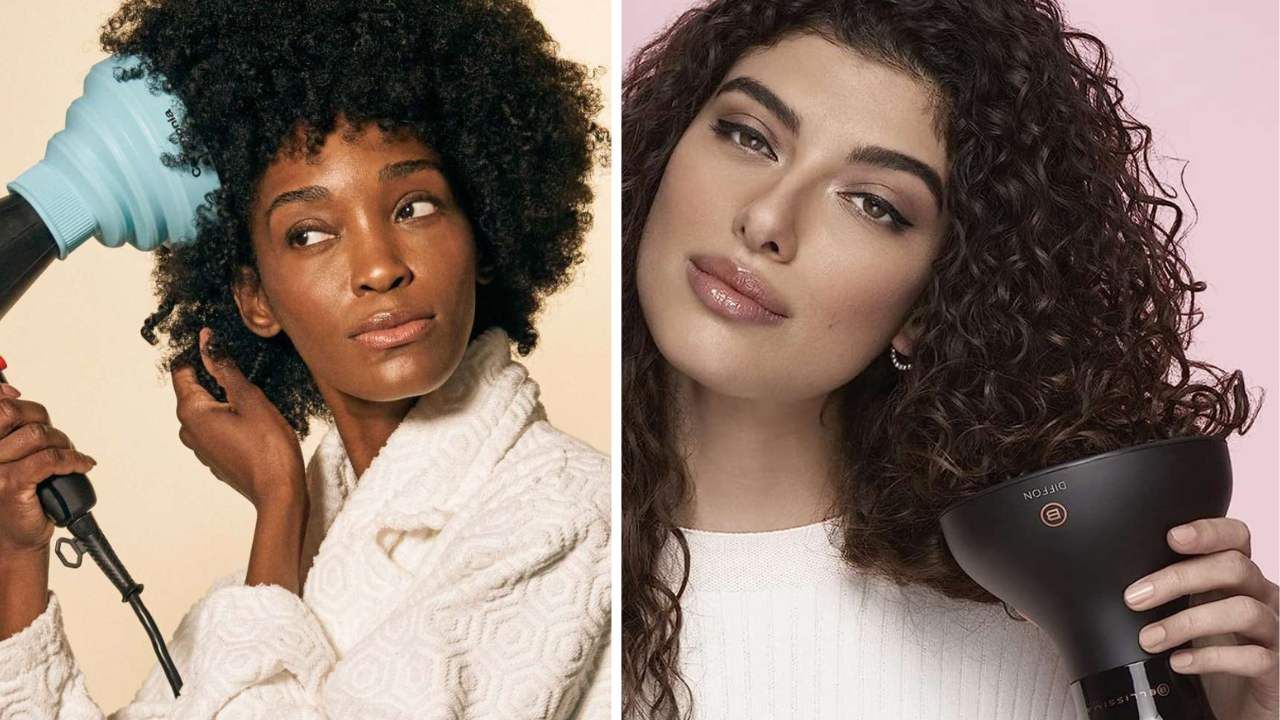
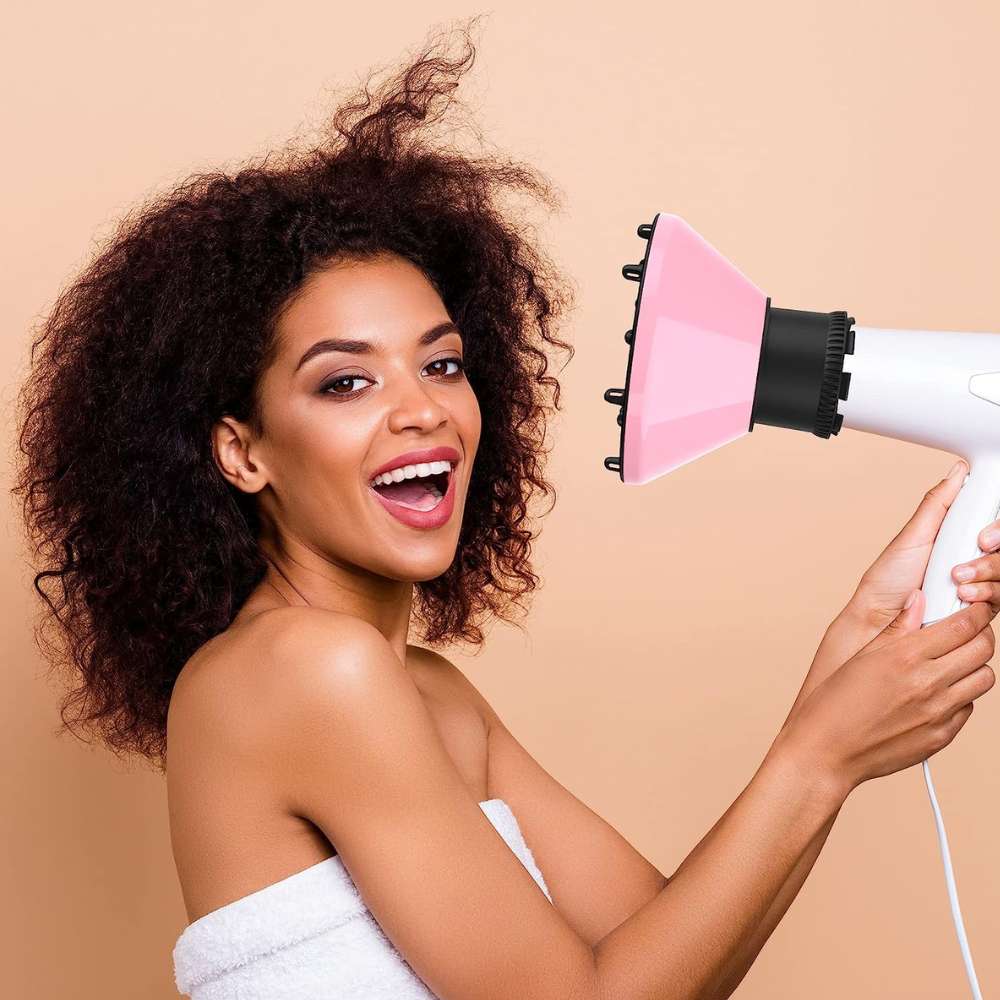
Start Diffusing
Now that your hair is damp but not soaking wet, it's time to start diffusing!
Place the diffuser attachment onto the end of your blowdryer and you're ready. Turn on your blow drying using the medium heat settings instead of high heat settings as this will help prevent damage caused by excessive heat exposure!
Now that your hair is clean and ready it's time to decide which diffusing method is best for you. Keep reading for your options.
Pixie Diffusing
This method is how most people use a diffuser. It works best on shorter hair lengths and pixie cuts.
To start, separate your hair into four even sections using clips or elastic bands.
Make sure each section has enough space to fit the diffuser nozzle so that it can evenly distribute the warm air onto your scalp.
Then turn your head upside down. grab one section at a time and cup the diffuser upside down underneath it with one hand while holding the blow dryer in the other hand.
Turn on the blow dryer and move it around in small circles as you slowly lift up through the ends of the strands for about 10 seconds. You are pushing your curls up and towards your scalp. Repeat for each section until your entire head has been covered.
This helps create volume at the root while defining curls for a voluminous look overall.
Stretch Diffusing
This technique works best on longer lengths of curly or wavy hair since it helps stretch out tight curls and reduce frizziness in order to achieve more defined waves or spirals.
To do this, separate your damp hair into six even sections using clips or elastics again.
Take one section at a time and put both hands together like you would when praying then place them around each section before aligning them with the diffuser nozzle of your blow dryer while keeping it close to your scalp but not touching it directly.
Pull both hands towards the ends of each strand in an outward motion as if you were stretching out each curl. It may be tricky at first, but you will get it down.
Repeat until all six sections have been covered by this method.
This method helps elongate tight curls so they have more movement without breaking off or looking overly fluffy due to too much heat being applied all at once.
Hover Diffusing
This approach works well on medium length curly or coily hair because it helps so you don't create frizz while still maintaining volume throughout each strand rather than just at the root like when pixie diffusing is used.
Start by separating your damp hair into three equal parts using clips or elastics again then blow dry one section at a time.
Hover diffusing is very similar to the motion you use when using a normal blow dryer. You move it around gently in circular motions near but not touching directly onto your hair so that there is some distance between the diffuser and your hair.
This will help define each curl with less heat than using a normal hair dryer.
Mastering the Diffuser
By mastering these three different techniques—pixie diffusing, stretch diffusing, and hover diffusing—you can enjoy bouncy curls without having to worry about frizziness ruining their shape nor sacrificing volume throughout every strand!
So go ahead and give it some practice until you master the technique that works best for your hair.
Finishing Touches
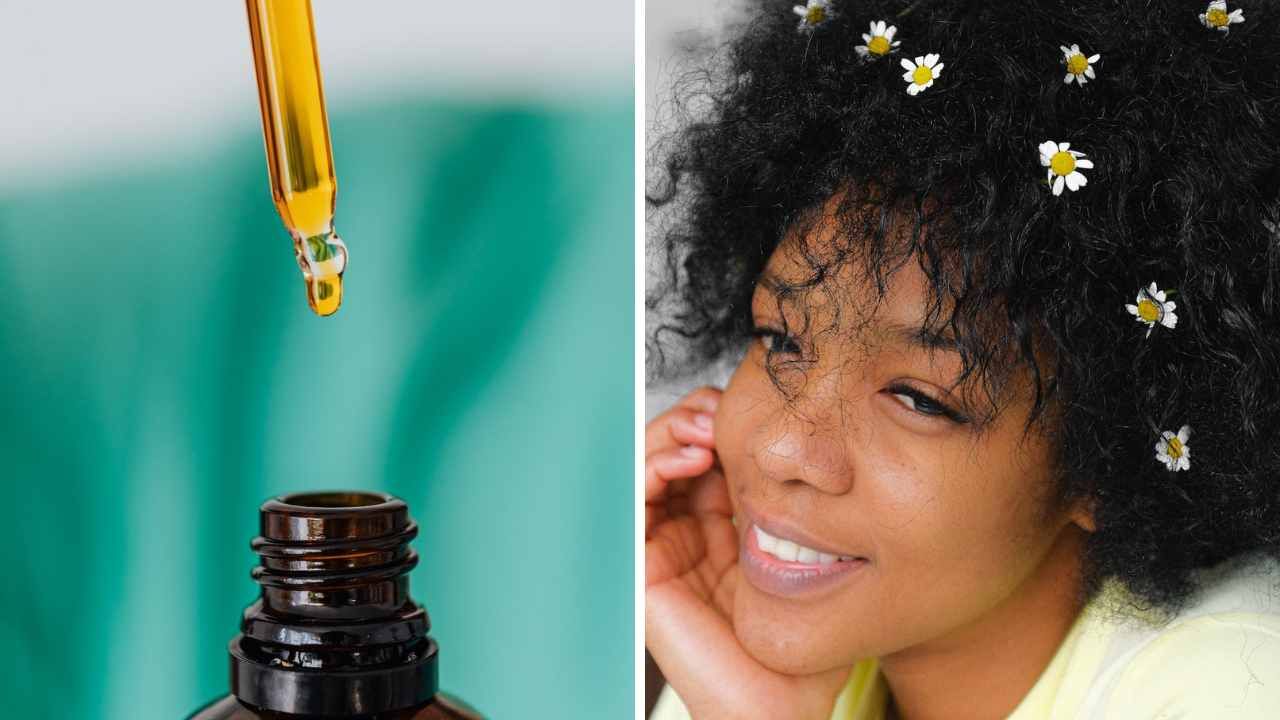
After you're done diffusing, finish off by applying a few drops of some anti-frizz serum or hairspray for extra shine and hold.
If you want more definition in certain areas (such as around the crown), you can also use a curling iron or wand on those particular spots before finishing off with product once again. And voila—you now know how to diffuse curly hair like a pro!
Taking a Break
If you want to give each lovely hair shaft a break, you can air dry it once in a while. Just put some curl cream on it to encourage curl definition so that your natural hair doesn't frizz while it's air drying.
You can also use this time off to deep condition your hair by using a hair mask, hair butter, or even some coconut oil on your hair. Taking some time off the hair dryer is always a good thing!
How to Dry Curly Hair Without a Diffuser
Drying curly hair without a diffuser can be a tricky task, but there are many ways to do it! Here is one method for drying curly hair sans diffuser:
1. Start by towel-drying your hair until it is only damp as opposed to soaking wet. This prevents your delicate curls from becoming weighed down and limp when you're finished styling.
2. Scrunch up sections of your damp strands using an old t-shirt or microfiber towel before lightly spritzing with a curl-enhancing spray or foam mousse that contains added heat protection benefits - this will help define individual curls while retaining volume and bounce.
3. Part your hair into 2-3 sections. Then take one section at a time starting at the back of head and twist it in between both hands (similar to squeezing out excess water) as you point the blow dryer downwards towards the ends with medium heat setting (you can use cool if needed).
Keep twisting/squeezing till almost completely dry then move onto another section by repeating above steps till entire head is done.
It's best to not overwork any single section otherwise you risk compromising the integrity of each curl pattern which will result in more frizzing up afterwards .
4. Repeat step three throughout each section until all areas have been dried thoroughly paying close attention not to focus on just one spot too long or apply too much direct heat which could lead to breakage.
So Fresh, So Curly!
Now that you're a curly girl who is an expert at diffusing curly hair, why not experiment with different products or techniques? You may be surprised at how much better your curls look when they’re properly cared for with love and attention!
So don't be afraid to dry curly hair with a diffuser. Embrace those gorgeous waves and show them off proudly!